Step into the world of Japanese culinary charm as you unravel the secrets behind creating the cutest ohagi you’ve ever seen.
The journey to mastering the art of making Japanese adorable ohagi is filled with surprises and flavors waiting to be explored.
Stay tuned for a guide that will not only teach you how to craft these delightful treats but also elevate your dessert game to a whole new level.
Get ready to tantalize your taste buds and impress your friends with your newfound ohagi-making skills.
Key Points
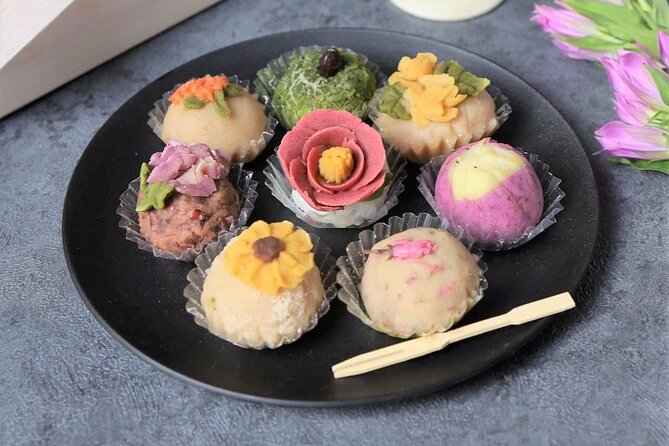
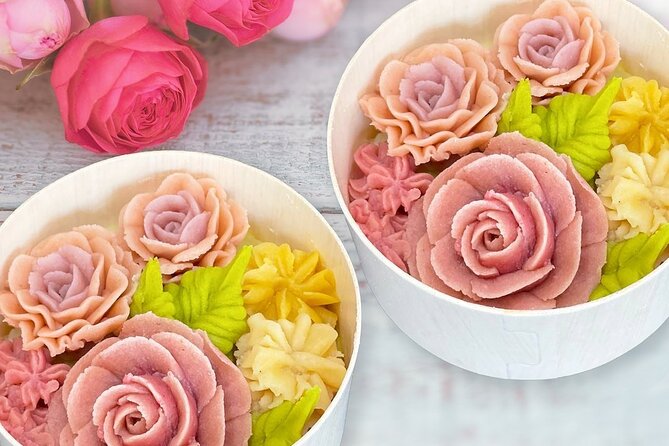
- Learn to make various types of ohagi, including shibori and cherry blossoms.
- Enjoy warm Matcha and Japanese spirits during the ohagi making experience.
- Receive a certification of completion and souvenir photography.
- Benefit from rental cloth and guidance from an English-speaking instructor.
It's also worth checking out some other tours and experiences nearby.
Ohagi Making Experience Overview
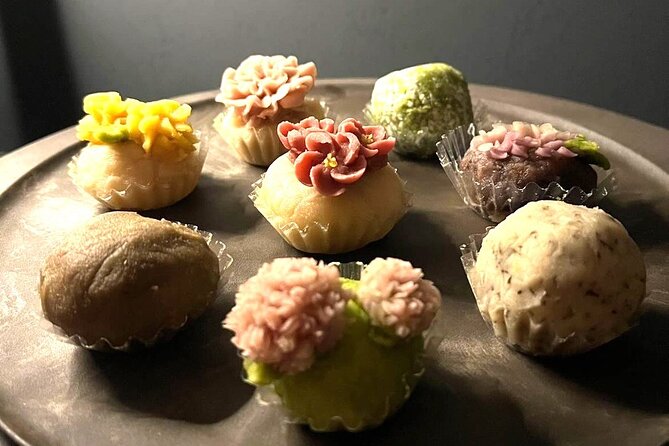
Step into the world of traditional Japanese sweets with the Ohagi Making Experience, where you can indulge in creating and savoring delightful ohagi desserts in Nara, Japan.
Learn about the rich Ohagi history and discover Ohagi decoration ideas to make your treats stand out.
Explore various Ohagi variations like shibori and cherry blossoms, and master Ohagi tasting techniques to fully appreciate these delectable confections.
The experience includes a rental cloth and an English-speaking instructor to guide you through the process. Upon completion, receive a certification and souvenir photography to commemorate your sweet adventure.
Don’t miss out on this hands-on opportunity to learn about the art of making and enjoying these charming Japanese desserts.
Sample Ohagi Menu and Details
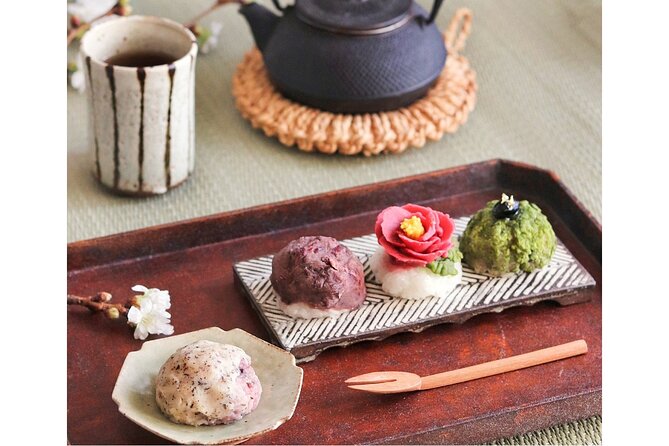
Let’s dive into the delightful world of Ohagi with a glimpse at the sample menu and details for this sweet Japanese treat. When preparing Ohagi, the ingredients usually consist of glutinous rice, sweet red bean paste, and kinako (toasted soybean flour). The preparation techniques involve shaping the rice around the sweet filling, resulting in a delectable and visually appealing treat. Below is a breakdown of a sample Ohagi menu:
| Menu Item | Details | Price |
|---|---|---|
| Ohagi Dessert | Traditional Japanese sweet rice ball | $3.50 |
| Ohagi Making Lecture | Guided instructions on crafting Ohagi | Included |
| Various Ohagi Types | Options like shibori and cherry blossoms | Included |
Enjoy the hands-on experience of creating these charming treats!
Meeting and Additional Information
Venture into the world of Ohagi by discovering essential meeting information and additional details for your delightful experience in Nara, Japan.
The meeting point is located at 221 Hokkejichō, Nara, 630-8001, Japan. For easy access, get off at the south entrance of Shinomiya station and follow specific instructions to reach the location. The activity concludes at the meeting point, ensuring a convenient end to your experience.
Wheelchair and stroller accessibility are provided, and service animals are welcome. Plus, the location is near public transportation, making it easy to reach.
Various dietary options, including vegetarian and gluten-free, are available. Remember, there’s a full refund if you cancel up to 24 hours in advance, but no refund for cancellations made less than 24 hours before the start time.
Ohagi Making Instructions
For a hands-on experience in crafting traditional Japanese ohagi, follow these straightforward instructions.
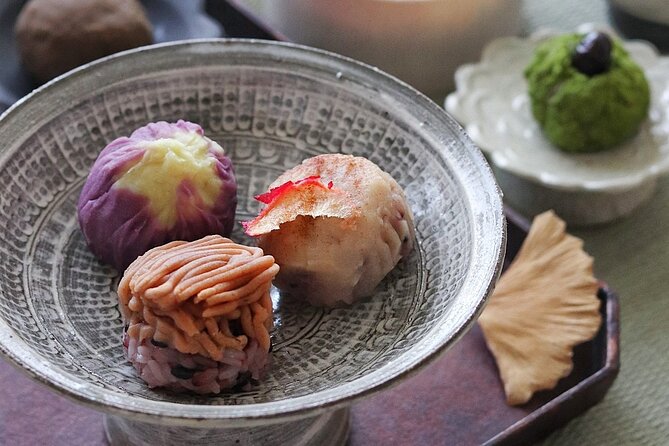
When shaping the ohagi, gently mold the sticky rice around the sweet red bean paste, forming small, round balls.
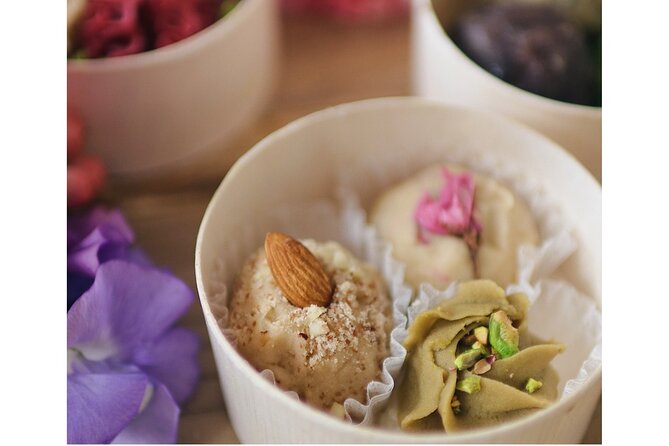
To add variety, consider experimenting with different flavor variations such as kinako (roasted soybean flour) or sesame seeds to coat the outside of the ohagi.
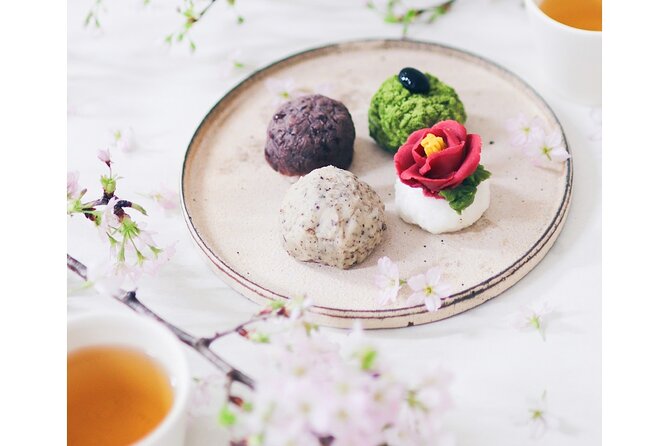
For a more decorative touch, try using shaping techniques like shibori (wrapping the rice around the filling) or creating cherry blossom designs on the surface.
These simple techniques can elevate the visual appeal and taste of your ohagi, making them not only delicious but also visually stunning. Enjoy the process of creating these adorable Japanese treats!
Tips for Perfect Ohagi

To ensure your ohagi turns out perfectly, consider adjusting the stickiness of the rice for easier molding around the sweet fillings. Here are some tips to help you achieve that ideal ohagi:
-
Experiment with Flavor Combinations: Mix things up by trying different fillings like red bean paste, sesame seeds, or matcha powder for unique and delicious ohagi.
-
Get Creative with Presentation Techniques: Roll your ohagi in various coatings such as kinako (roasted soybean flour) or crushed peanuts to add texture and flavor.
-
Practice Perfecting the Molding Process: Take your time shaping the rice around the filling to achieve that classic ohagi shape and ensure a delightful eating experience.
Here's a few more nearby tours and experiences we think you'll like.
Ohagi Presentation and Serving
When serving ohagi, place the delicately crafted rice balls on a simple yet elegant platter to enhance their visual appeal. For an extra touch of sophistication, consider adding some traditional Japanese elements to the presentation. Here are some presentation tips and serving suggestions to make your ohagi even more delightful:
| Garnish Ideas | Plating Techniques |
|---|---|
| Cherry blossoms | Circular arrangement |
| Kinako (toasted soybean flour) | Layered presentation |
| Edible gold leaf | Colorful contrast |
| Matcha powder | Minimalist design |
| Fresh fruit slices | Symmetrical layout |
These garnish ideas and plating techniques will not only make your ohagi visually appealing but also elevate the overall dining experience.
Not for you? Here's more of our most recent tour reviews happening neaby
- E-Bike Nara Highlights – Todaiji, Knives, Deer, Shrine, and Gems
- Kix Airport to / From Nara (7 Seater)
- KIX Airport To/From Nara (10 Seater)
- Experience Authentic Sushi Making in Nara
- Romantic Tour In Nara
- Half-Day Private Tour in Nara Park and Tōdai-ji Temple
- Nara World Heritage Todaiji Visit and Naramachi Tour
- The Best of Nara Walking Tour
- Nara: a Completely Private Tour to Meet Your Favorite Tea
- Japans Oldest Shrine & Nagashi Somen Walking Tour From Nara
- Sake Tasting and Hopping Experience
- Nara Custom Full Day Tour
- Nara Craft Tours – Local Craft Beers Tour Experience in Nara City
- Nara Custom Half Day Tour
- Learn How to Make Sushi! Standard Class-Nara
Sum Up
And there you have it, folks! Making Japanese adorable ohagi is a fun and delicious experience that anyone can enjoy.
With the help of a rental cloth and English-speaking instructor, you’ll be whipping up these sweet treats in no time.
So grab your ingredients, follow the steps, and impress your friends and family with your newfound ohagi making skills. Happy cooking!